
How to make Diy Personalized Door Mats
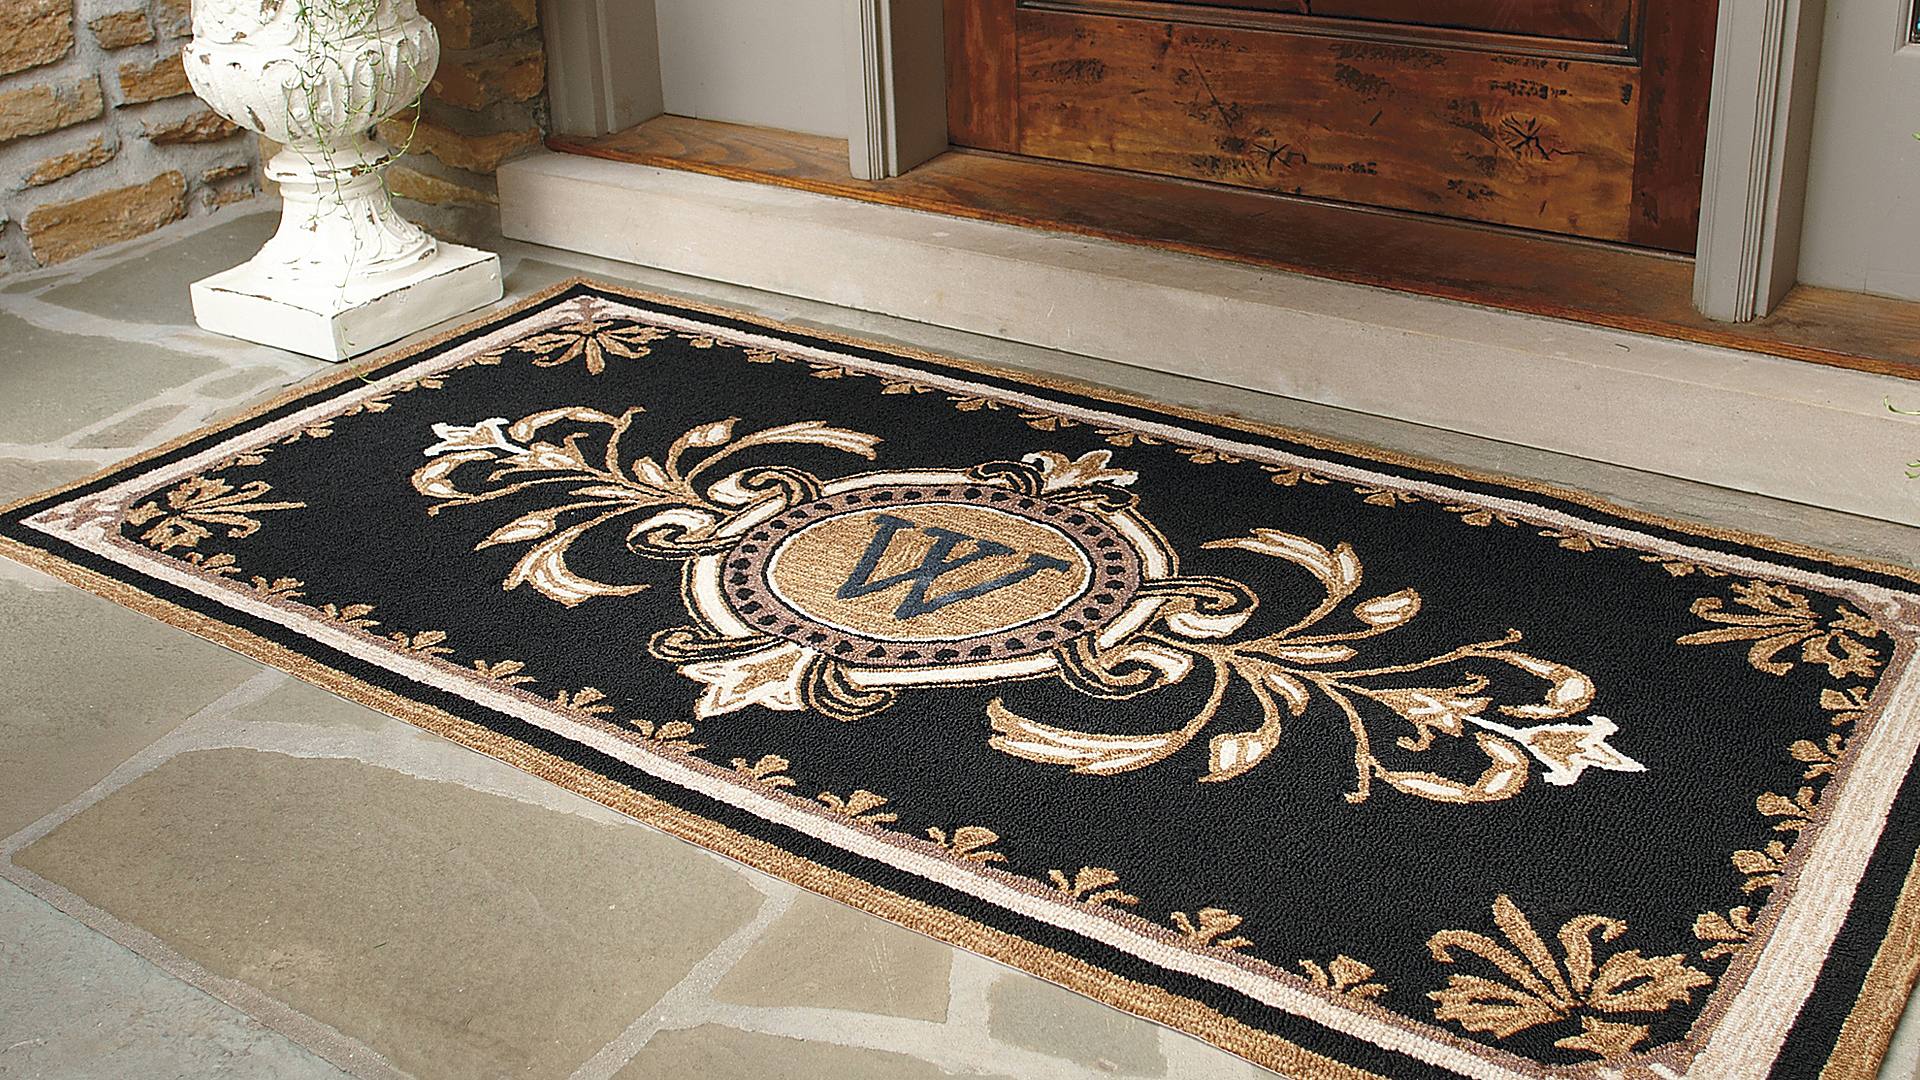
One of the simple things that we focus much on and are pretty important as well are the doormats. Doormats are honestly the best discovery ever, and without them, the attempt to make our houses look spotless would go futile. However, gone are the days when we used to buy doormats from store. Today people prefer to make their own mats instead of buying them outside. In fact compared to a lot of other DIY projects making a mat is quite simple so here we will see the pros of making your doormats and how to DIY them.
Why should you make your own mats?
The right kind of mats that we look for depends on what we need them for. Though there are a lot of readymade mats available to meet our various requirements, sometimes we don’t find them enough. The size, the purpose, the design and sometimes even the colour of the mats will have an impact on the choice that we make. The saddest thing is that even after looking out for hours the search might at times end futile. So this is the reason as to why you should learn to make your own mats. You make your own mats, design them according to your taste and match them with the look of your house. Let’s learn how to DIY a mat.
Steps to make DIY Personalised Door Mats:
Things that you will need:
A blank doormat, black paint, contact paper, X-Acto knife and a sharpie foam brush are the things that you will require to make your personalised doormats. These are quite commonly available products and a few of things that we already have as well. So let us get to the step of making our own mat.
Find your message:
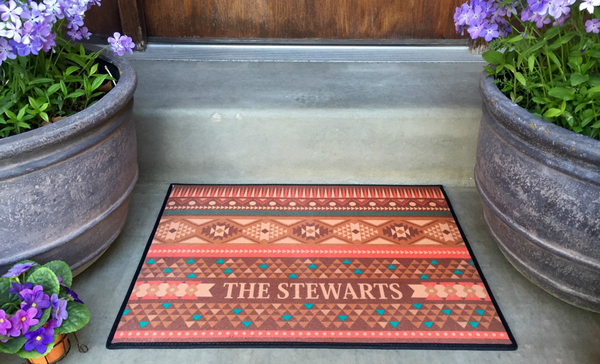
The main purpose of making your own mat is that you will get to have your own message on the mats. So before we get started, find a message of your choice in a font that you like. Make sure that you do not choose a font that has too much of curves and hard to understand. Also, remember you have to cut them. So go for a simple font. Depending on the size of the mat, make the size of the font and print that on a sheet.
Time to get the contact paper:
The next thing you have to do is to tape the sheet to the contact paper. Once the sheet with the message is ready, pull out the knife and cut that sheet along with the edges of the sheet. So while you have the rest of the sheet, the space on the sheet that was earlier with the message is replaced by a blank space ready to be used as a stencil.
Pull out the doormat:
You already have a doormat. Make alterations to the sight as required and file the edges. Once you have your perfect mat, stick the contact paper to the mat. Paint the vacuum space with the black paint that you have and remove the contact paper once you are done.
Your doormat is ready!
Once the paint gets dried, you can put your personalised DIY mat to use. Depending on the way it is used the life of the mat varies accordingly.