
S·I·G·N·S Etcetera
Your Source for Animal Memorabilia & Novelty Signs Since 1998.

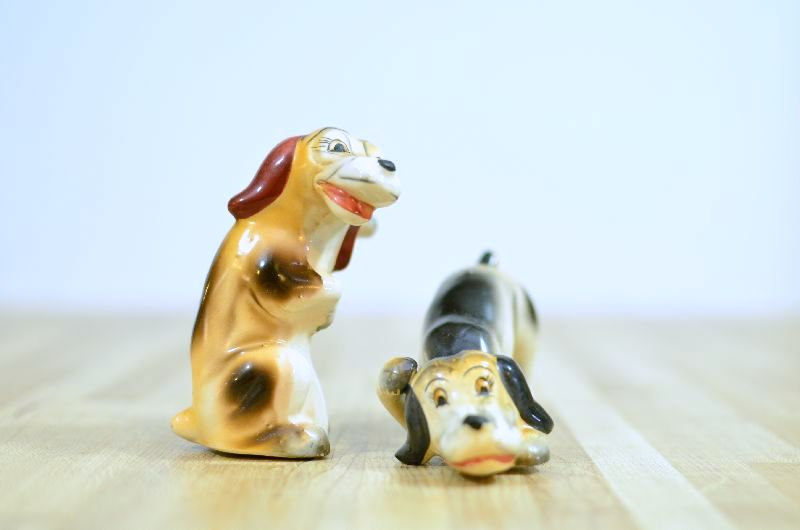
If You Love Animals, You'll Love our Store
Our first Signs Etc. store opened in 1998 to offer buyers a unique shopping experience where they could find nearly any item they would want with their dog’s breed on it. Aprons, Shirts, Mugs, House Signs, Throws – you name it, we carry it! We soon expanded our line to feature other much-loved animals such as cats and horses.
Our latest additions have been novelty signs and mats. Are you searching for an original sign to give as a gift or a witty mat to lay at your front door? You will find it here.


Garage Door torsion spring replacement – safety

Replacing Garage door Torsion Springs – Safety precautions
Replacing torsion springs is a dangerous affair. This is because the springs are under a lot of tension and if it snaps you can lose your fingers or your life. If you have not any experience with torsion springs, it would be wise to get a professional to fix it for you. Before you embark on any repairs ensure that you take safety precautions first.
How torsion does springs work?
Torsion springs use mechanical energy physics to operate. Energy is stored when the springs are tightened and twisted. They operate by winding up to move the garage door down and are mounted at the top of the garage door. When you want to open the garage door, then springs will unwind and enable the cables to lift the heavy door. With time, the springs will wear out and be in need of repair. If the spring snaps then it cause life-threatening injuries.
Torsion springs tend to have a lifespan of between 5 to 7 years. This will give you about 1,000 cycles assuming you close your garage door 3 to 5 times a day.
Safety precautions
Wear safety glasses and avoid standing on loose chairs or stools; use a ladder instead. You can avoid injuries by clutching the bars firmly and holding the end that is farthest from the plugs. At all times assume that the springs will break; this keeps you alert.
To avoid ripping your flesh or wrapping your clothes on the spring keep your hands away from the plugs. This is because if the winding bar slips off the plug your hand may jerk up and rip your flesh. Always keep your head off the path of the winding plug.
Be aware when using old winding cones, especially those made for 5/8″ bars; you will discover that the holes are too small. When doing garage door repair do not use ½” bar but try to grind down the cone to fit; the potential for injuries with the ½” bar is very high.
Most of the extension springs have cables that act as a backup in case the torsion springs break. But to fix the springs, you will need first to disconnect the cables which are again dangerous. The cables can snap it the springs have rust and are worn out. The other problem is having the unsupported doorframe falling on you.
When you are replacing worn out torsion springs always replace both springs. Avoid buying used spare parts because it can be difficult to estimate the life cycle. When you have a new and old spring operating, then you will experience uneven wear on your garage door system. It is more dangerous due to the excess tension on the old spring.
You will know that your springs need replacement when the garage door opens slowly, or it will not open from a closed position. Also if you have problems with your opener or there is a loud bang before door stops functioning.
Final thoughts
Replacing torsion springs can be very dangerous when you decide to do it yourself. Injuries are life-threatening and it is recommended to talk to a professional before trying it yourself.
How to prevent garage fires
How to prevent garage fires
A garage is a place where fires can start and spread to the rest of the house. Since it’s not often used during the day, it can be hard to detect a spark from a faulty electrical line. According to the US Fire Administration, more than 6,600 fires originate from the garage. This results in more than $457 million in property losses. It does not make sense to build the ultimate garage door repair and ignore garage safety features. This article will explore various tips to reduce garage fires.
Inflammable items
You should avoid as much to store inflammable materials like; aerosol, gas, turpentine, propane and other oil-based products. These products can easily cause fires when there is an electrical fault. You should also clear your garage off clutter. The best way to store these items is in a shed a distance from the house.
Water heater and boiler
These are essential items for your heating system in the house. You should keep any inflammable materials some distance from these appliances.
Electrical Outlets
You will need to check electrical cables around the garage frequently. If there is a faulty line, call the electrician to fix it before it causes problems. If you have, external socket outlets then avoid overloading them; these overheat and are a significant cause of fires in the garage. Ensure that you switch off lights and sockets when going to bed.
Protective fire devices
You should shop around for a useful smoke alarm and heat alarm. The smoke alarm can detect any smoke from fires while a heat alarm will alert you to increases in temperature in the garage. You can get a garage repairman to install the appliances in your house. The heat alarm is usually the first one to go off then the smoke alarm.
Have a standby fire extinguisher that is placed in a reachable area. You should ask your garage door service person to check it out yearly for defects and functionality.
Reinforce with gypsum
Another great way to protect your house from fires is to reinforce your attics and any other area that touches the garage with gypsum. This will include rooms adjacent the garage; install a 5/8 inch gypsum board on the ceiling. You can also protect your attic with an attic cover.
Check your car for leakages
You should ensure that there are no oil and gas leakages from your vehicle. Gasoline is highly inflammable. Clean any oil spillage immediately you see it.
You should also protect your garage door with heat-resistant materials, protective coatings, and a fire-resistant core. Ensure that your garage door is certified with a fire rating of 20 minutes and above. The rating means that it will take an average of 20 minutes for the fire to consume your door. This will give you amble time to exit the premises.
Final thoughts
Fires can cause injuries and irrevocable loss of equipment. Preventive measures keep you and your belongings safe in case of a fire breakout. Consult experts when installing some of these safety measures.
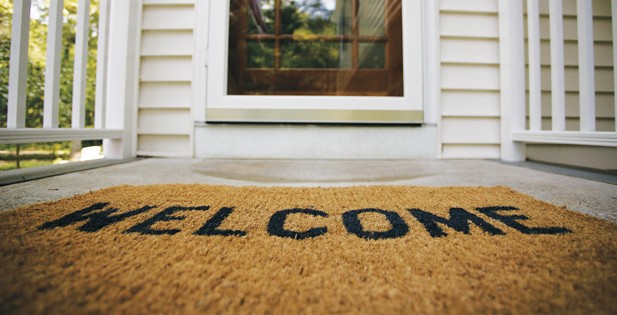
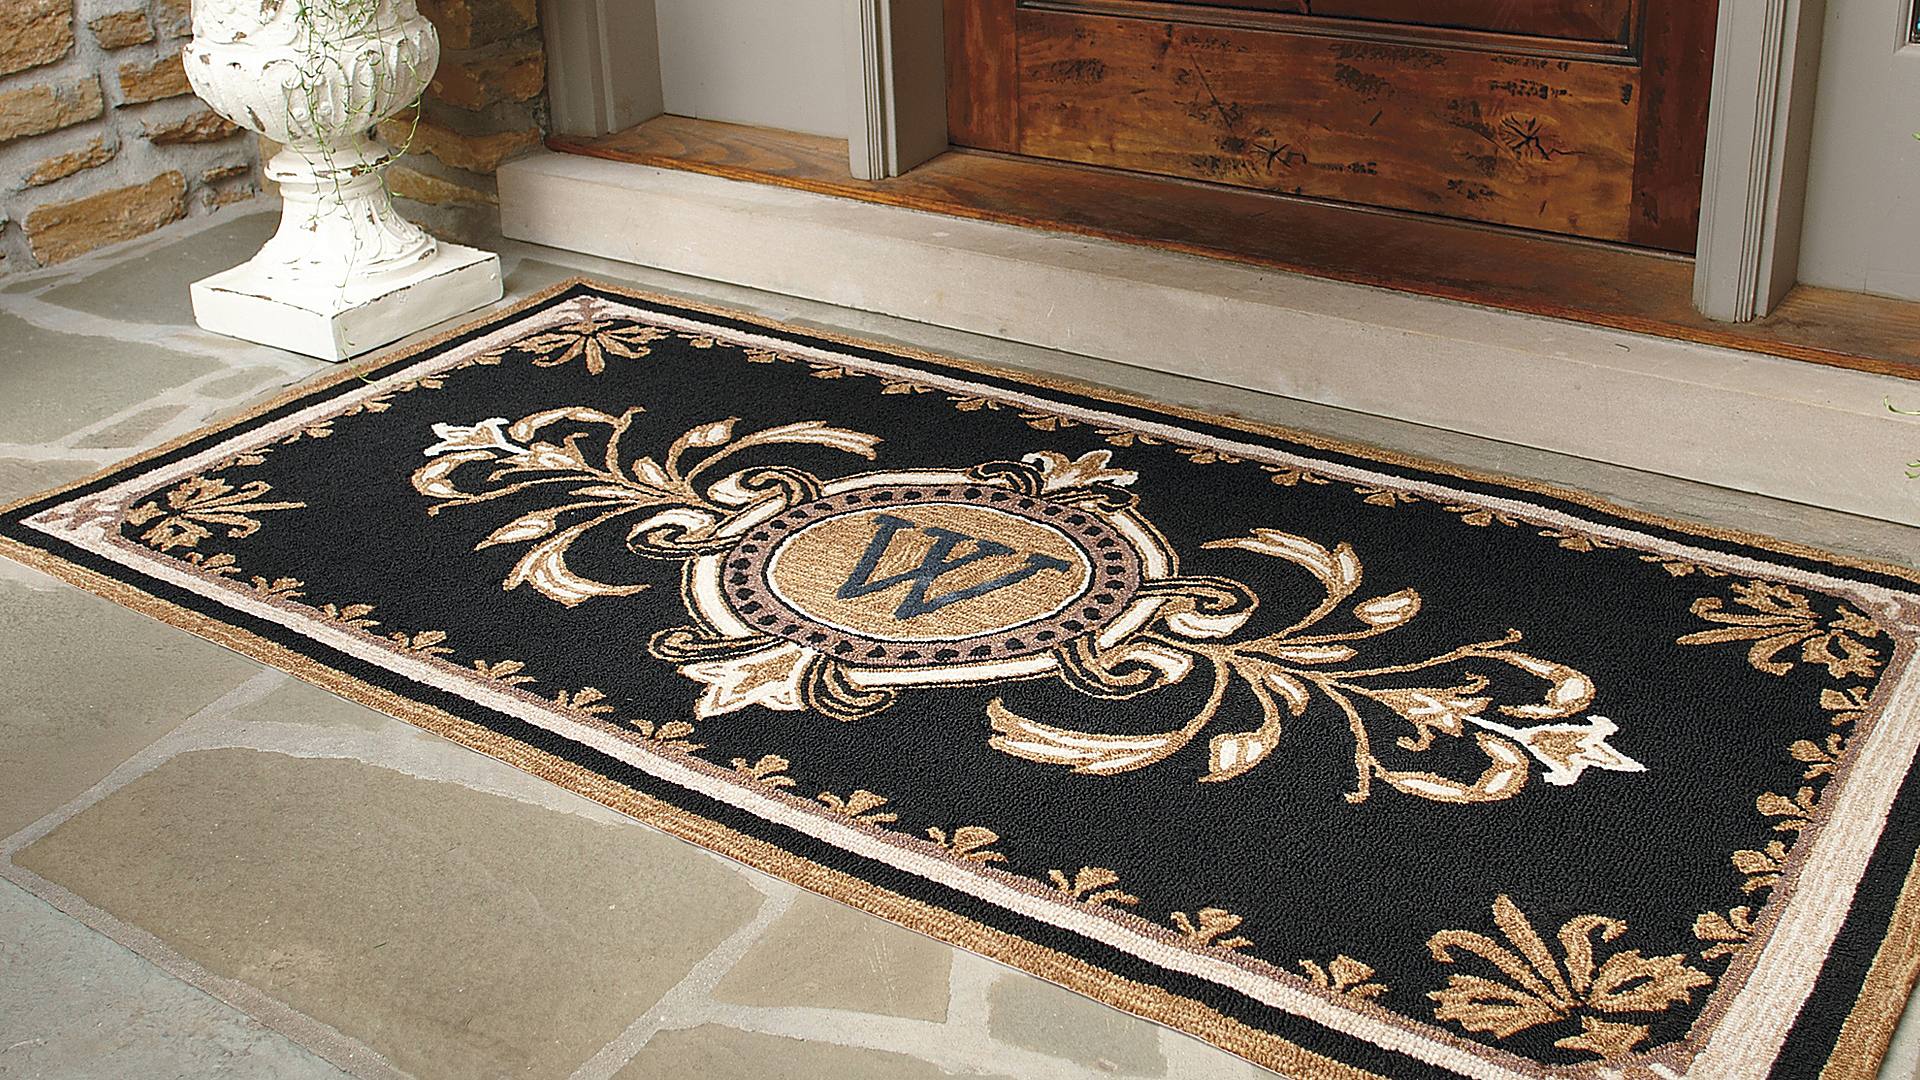
Top 5 Doormat Ideas for your Home

Doormats are adorable if we use them right. Most of us shun the idea of having a doormat. Doormat is more than a piece of material that carries a Welcome message in front of your house. In case if you ask us, we would say, the doormat is more than material, it is an antique. So make your own DIY doormats and fill your house with a lot of beauty. Here are some the ideas that you would love to know to make your own doormats.
Wooden Planks:
Get some durable wooden planks and make a wooden frame that matches the size of your door. Then cut wood planks in different sizes to fit them into the wooden frame diagonally. In case if you like to keep your mats in the wooden type but a little differently, then collect wooden planks of the same size and place the planks on the floor as you would want them to be and make a whole to connect the planks using a twine. So unlike the earlier one you are making a flexible one here.
Reshape them:
Buy the usual mats that are available in the market close by and then you can reshape them the way you want them to be. All you will need are cutters and glue. Cutters to reshape them and glue if you want to attach different pieces. Once you cut the mat, the edges might go rough. So file the edges and make it look and feel soft under your feet.
Cope the rope:
All you need are rope and glue. If you have a long one considerably, coil the rope into one whole circular platform that fits the area you want to hold them. If you want to make it a bit more exciting as a circular coil can look mundane, then cut the rope into different sizes and coil them separately. Now connect the separated ones using a glue. You can also use coloured ropes to make it look more attractive than before.
Colour the mat:
Get a mat in the shape and size that you prefer. Since we are going to paint them, it is preferable if you go for the ones that are light in colour. Get three or four different colours as you please and get a painter’s tape. Tape the boundaries where you will change colours and start painting. Once you are done, remove it and get a multicolour doormat.
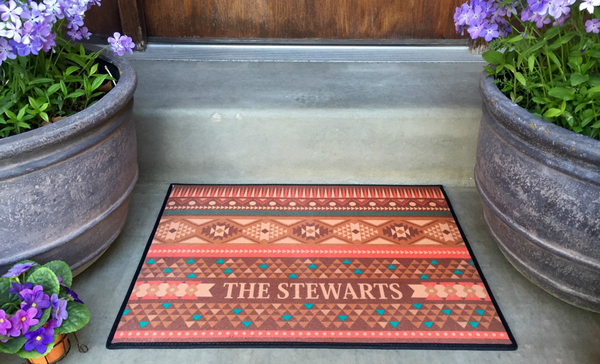
Mat with a message:
But a mat of your choice. Find the message that would like to have on your mat, and print it on a sheet. Stick this to a detachable sheet and cut it along the edges of the words. This will leave a vacuum space inside the font making it look like a stencil. Fill it with a colour and detach the paper from the mat and you will have the message of your choice on your doormat.
How to make Diy Personalized Door Mats
One of the simple things that we focus much on and are pretty important as well are the doormats. Doormats are honestly the best discovery ever, and without them, the attempt to make our houses look spotless would go futile. However, gone are the days when we used to buy doormats from store. Today people prefer to make their own mats instead of buying them outside. In fact compared to a lot of other DIY projects making a mat is quite simple so here we will see the pros of making your doormats and how to DIY them.
Why should you make your own mats?
The right kind of mats that we look for depends on what we need them for. Though there are a lot of readymade mats available to meet our various requirements, sometimes we don’t find them enough. The size, the purpose, the design and sometimes even the colour of the mats will have an impact on the choice that we make. The saddest thing is that even after looking out for hours the search might at times end futile. So this is the reason as to why you should learn to make your own mats. You make your own mats, design them according to your taste and match them with the look of your house. Let’s learn how to DIY a mat.
Steps to make DIY Personalised Door Mats:
Things that you will need:
A blank doormat, black paint, contact paper, X-Acto knife and a sharpie foam brush are the things that you will require to make your personalised doormats. These are quite commonly available products and a few of things that we already have as well. So let us get to the step of making our own mat.
Find your message:
The main purpose of making your own mat is that you will get to have your own message on the mats. So before we get started, find a message of your choice in a font that you like. Make sure that you do not choose a font that has too much of curves and hard to understand. Also, remember you have to cut them. So go for a simple font. Depending on the size of the mat, make the size of the font and print that on a sheet.
Time to get the contact paper:
The next thing you have to do is to tape the sheet to the contact paper. Once the sheet with the message is ready, pull out the knife and cut that sheet along with the edges of the sheet. So while you have the rest of the sheet, the space on the sheet that was earlier with the message is replaced by a blank space ready to be used as a stencil.
Pull out the doormat:
You already have a doormat. Make alterations to the sight as required and file the edges. Once you have your perfect mat, stick the contact paper to the mat. Paint the vacuum space with the black paint that you have and remove the contact paper once you are done.
Your doormat is ready!
Once the paint gets dried, you can put your personalised DIY mat to use. Depending on the way it is used the life of the mat varies accordingly.
Contact Us
We’d love to hear from you. If you have a quick question or if you just want to say hi. For business inquiries feel free to call, email or use the contact form to the right. We can’t wait to hear from you soon!
Fowler, KS 67844